Your cart is currently empty!

If you’re Filipino-born and live in America, chances are your definition of “mango” is different than what most folks here think of. I grew up in the Philippines thinking that the only kind of mangoes that existed in the world were the sweet, golden-when-ripe type–the Manila Mangoes, which I missed so much and had to learn to hunt for specifically when I moved to California.
Mangoes were like (expensive) candy to us kids, and as there were seven of us the most I could ever savor of the fruit was one “cheek” (one side sliced off along the flat side of the core seed). Never satisfied, I would scramble to grab the “leftover” seeds, which I would peel like a banana along its thin sides and take bites from all around. My throat would itch from all the extra fruit fibers I slurped up so eagerly, and the poor mango seed looked like an electrocuted head by the time I was done, but I didn’t care… I couldn’t get enough of those mangoes :-)

Every mango-based scoop of ice cream, fruit shake, and juice drink I’ve had since then has always been measured up against the Manila Mango’s distinct flavor, and unfortunately unless you go buy a can of Gina mango juice from a Filipino Market you’re just not going to meet that standard very easily. I don’t even try to substitute with any other kind of mangoes anymore–I just head to a Seafood City or Ranch 99 and can usually find a case for under $7.
That is exactly what I did last weekend, and now I’m going to share with you my refreshing Manila Mango Coolers recipe with tips on how to use the base for making whatever other kind of fruity coolers you’d like to enjoy!
Anatomy of a Fruit Cooler
- Frozen fruit puree or fruit chunks
- Flavored water
- Ice
- Sweetener
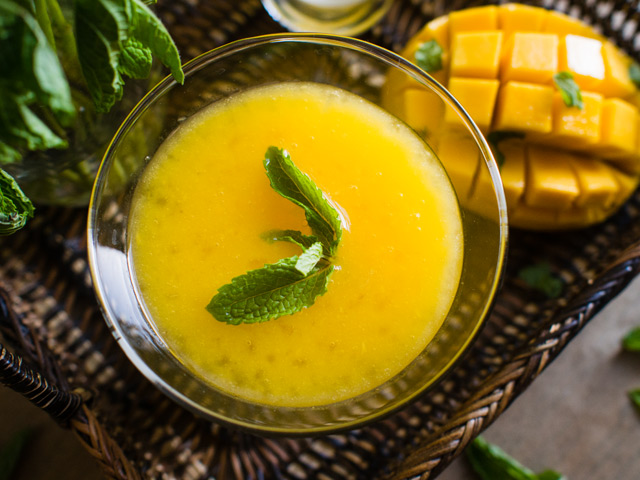
Frozen fruit puree: The trick to making coolers is to start with frozen (not room-temperature) fruit. For my Manila Mango Coolers, I made a frozen puree ahead of time so that the cooler would be as cold as possible right from the blender. To prep for 3-4 servings, I scooped out the flesh of two mangoes and combined equal parts of it with some acidic fruit juice (you can use lemon, lime, pineapple, etc.–the acidity helps the fruit stay fresher for longer). I pureed the mixture in my blender, then poured it into an ice tray (about 2 cups of puree should fill a standard 16-cube tray) so I would have more manageable frozen chunks to blend later.

By the way, you can make your own fruit juice by combining one part pure fruit juice to two parts neutral liquid (club soda, sparkling water, etc.).

If the puree is too much hassle for you, you can stick to just the scooped-out mango chunks (you’ll just add in an equal part of neutral liquid later for the final blending) and freeze them in small resealable plastic bags. I personally find that it is worth the hassle to make a puree, as it is such a great way to always have my favorite fruits on hand, ready to toss into a blender at any time.
Flavored water: Pick a fragrant herb like mint, basil, or lemon grass, pound the leaves with a mortar and pestle (or use the end of a wooden spoon), and steep in hot water like tea. You’re going to need at least a cup of the flavored water for the coolers, so I would make at least 2 cups. Allow to cool and chill thoroughly before using in the final blending.

Ice: Nothing special here, just frozen water, but you’re going to need a lot!
Sweetener: You can use plain white sugar/simple syrup, honey, agave, grenadine or any other sweetener you prefer. Start with a tablespoon then slowly add more until you get to the level of sweetness you like.
Optional: You can add some milk or other dairy element if that sounds good to you, but for me this makes it more of a smoothie than a cooler. If you’re looking to highlight the fruit flavor I would recommend leaving out the milk.
Now you’re ready to put it all together for some yummy Manila Mango Coolers!
[amd-zlrecipe-recipe:3]

Hope you enjoy this refreshing treat! I’m taking requests for future recipes!
Leave a Reply